Open topic with navigation
Viewing Images in Rock Maker
Once Rock Imager has taken images, you view them with Rock Maker. Although you should refer to the Rock Maker help files for more detailed Rock Maker help, this topic provides a quick overview of how to access and view your images with the Rock Maker software.
Prerequisites
- You created an experiment in Rock Maker.
- You imaged the experiment's plate one or more times with Rock Imager.
To view images in Rock Maker:
- Open the experiment in Rock Maker.
- Change to image view by clicking on the picture button.

Click on the picture button
- Click the refresh button to make sure the images you're viewing are the most current images.

Click on the refresh button
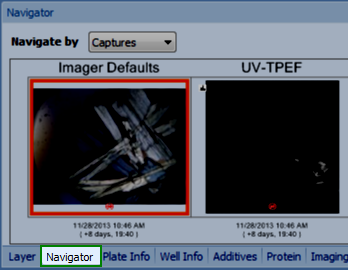
- On the bottom panel, click on the Navigator tab to be able to look at image thumbnails and move around from one image to the next.

Click on the Navigator tab
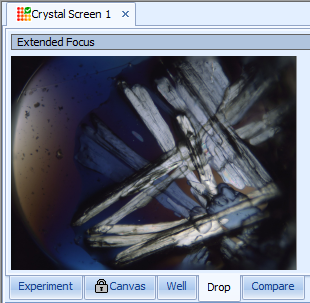
- The top panel includes four tabs. You can move between Canvas, Well, Drop, and Compare tabs depending on the type of view you're interested in.

- To see each of the z-slices for a drop, go to the Drop tab and use the F11 and F12 keys on your keyboard.

Go to the Drop tab
- To compare an image with another image, press and hold the CTRL key on your keyboard, click on the images you want to compare, and then click the Compare tab.
Click the Compare tab
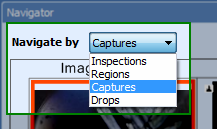
- To change the way you are navigating through images, use the Navigate by list.

Use the Navigate by list
- If your plate has multiple drops per well, you must change the Drop list on the Experiment Navigator.

Change the Drop list on the Experiment Navigator
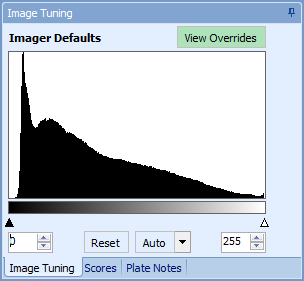
- To adjust the brightness and contrast for your images, use the Image Tuning tab. Tighten the black arrows to the left-most part of your image's histogram and the right-most part for the best contrast and brightness.

Use the Image Tuning tab
Related Topics
|

|

|
RIC-V214R114
|
|


